
Are you looking for a process to Install QuickBooks Desktop on a Terminal Server? This article shall provide you a lucid walkthrough to help you with the process along with elucidating on the steps to configure settings and registering QuickBooks Desktop in the Registry Editor. So, stick around till the end of this article.
Steps to Install QuickBooks Desktop on a terminal server
For Windows 10 users
- Go to the Accounts tab in the Control Panel.
- Then go to Settings and click on Family other users.
- Set the Administrator privileges before installing QuickBooks on the Terminal Server.
- Choose the account owner name.
- Click on Change Account Type.
- Select Administrator under Account type.
- Click on Ok.
- Use the new administrator account to log in.
For Windows 8.1 and Windows 7
- Click on Start.
- Go to the Control Panel. From there, head to User Accounts and Family Safety.
- Proceed to User Accounts.
- Choose the option to manage another account. Enter the administrator password or any other confirmation information when asked.
- Click on Make a new account.
- Enter the user name, account type, and then click on Create Account.
- Now, shut down QuickBooks Desktop.
- Go to the Windows Start menu.
- Open the Control Panel.
- Click on User Accounts in the Control Panel.
- Locate “QBDataServiceUserXX”.
- Choose the service and then hit on the Change account type.
- Go to the Administrator option under Change the account type.
- After that, hit on Change Account Type.
- For each version of the QuickBooks Database Server Manager you use, hit on Apply.
Steps To Configure the settings
- Log in to the server where you need to install QuickBooks Desktop on a Terminal Server as a Windows Administrator.
- Now, go to the Control Panel.
- Select Administrative Tools.
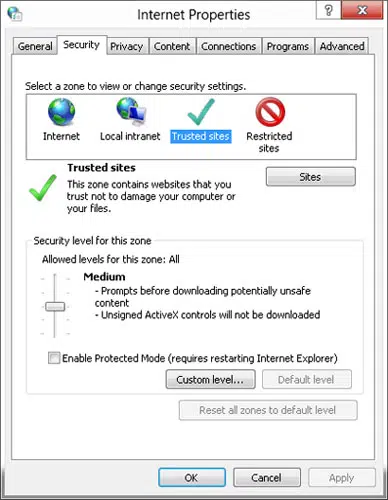
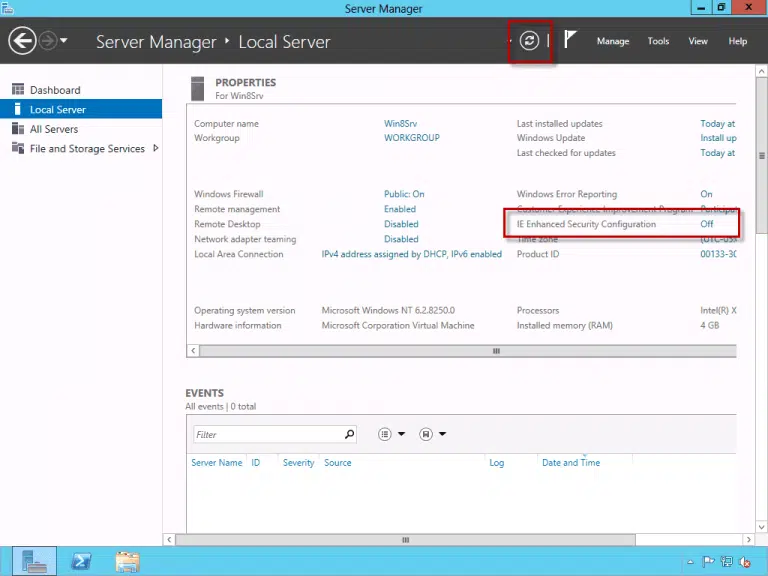
- Click on Configure IE ESC in the Security section of the Server Manager.
- Select Ok after switching the status to OFF.
- Now, disable the Windows Firewall.
- Next, activate the QuickBooks Terminal Server.
- Head to the Roles menu in the Server Manager and then click on Add Roles.
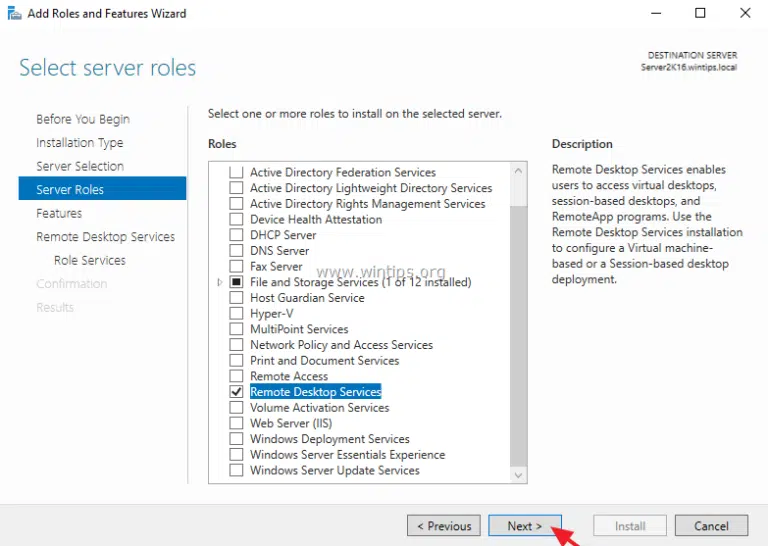
- Now, hit on Next.
- Choose the Terminal Services checkbox.
How to register QuickBooks Desktop?
- Press the Windows + R keys.
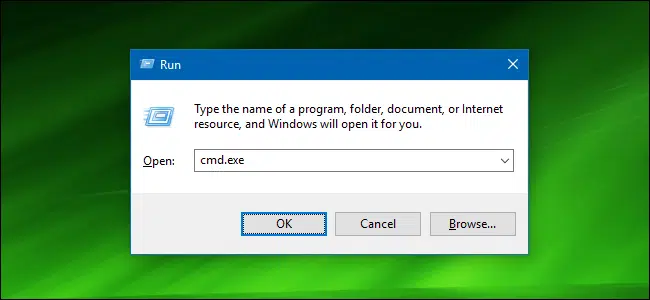
- Type CMD in the Run box and hit on Ok.
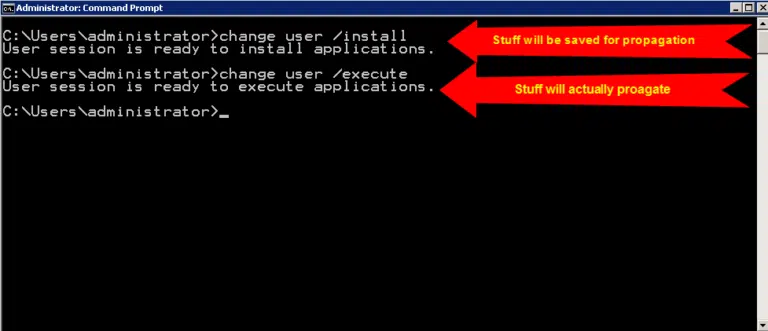
- Type change user /install in the command prompt and hit Enter.
- Now, Install QuickBooks Desktop.
- Now, open the Command Prompt again.
- Switch to Execute mode by typing change user /execute.
- Follow up by hitting the Enter key.
- Afterward, user should allot Full Control Permissions to the QuickBooks Data Folders.
- Click on the Windows Start button.
- Type "Regedit".
- Create a registry backup.
- Click on the key “HKEY_LOCAL_MACHINE”.
- Choose QuickBooks Registration from Intuit.
- Opt for the QuickBooks version and then hit a right-click.
- Opt for Permissions.
- Vest complete control to QuickBooks.
In the current discussion, we have provided a detailed insight into the procedure to install QuickBooks Desktop on a terminal server. If you face any difficulty while installing the accounting program, just give us a call at the helpline +1800-615-2347.


