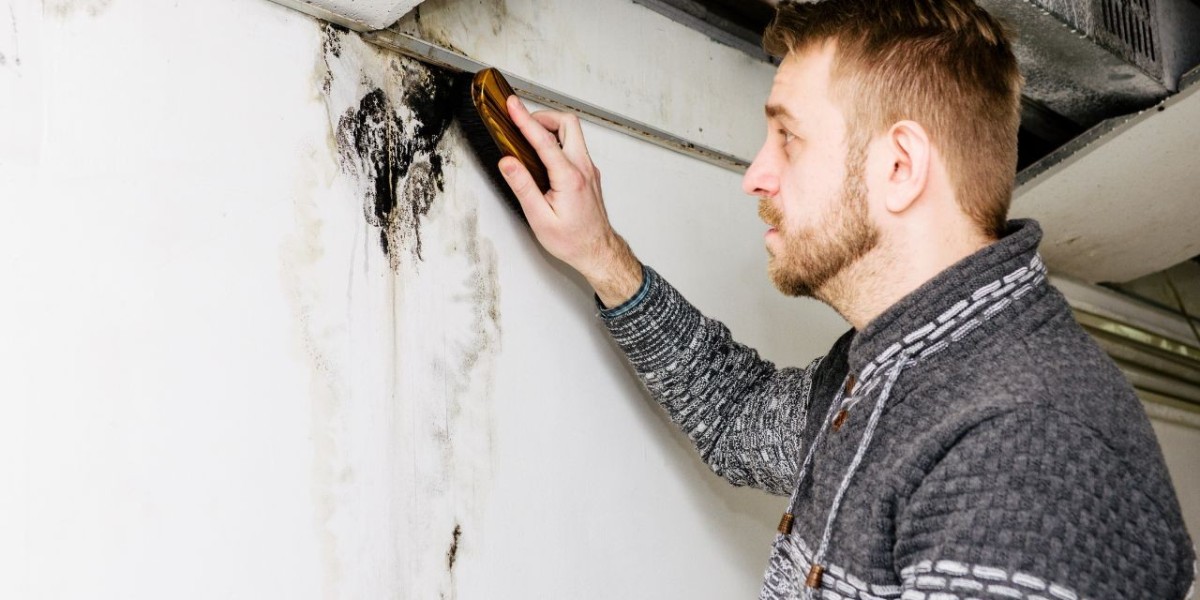
This article equips you with the essential tools for ceiling leakage repair, along with some handy tips to get the job done. Remember, for extensive leaks or situations beyond your comfort level, calling a professional is always the best course of action.
Before You Dive In: Safety First!
Safety comes first, especially when dealing with electricity and potential water damage. Here's what you need to do before grabbing your toolbox:
Turn off the Electricity: Locate the source of the leak and identify if it's near electrical wiring. If so, switch off the power at the breaker box to avoid any risk of shock.
Contain the Leak (If Possible): Depending on the severity of the leak, place a bucket or tarp underneath the drip point to collect water and prevent further damage.
Clear the Area: Move any furniture or belongings that could get in your way or be damaged by water.
Gathering Your Arsenal: Essential Tools for Ceiling Leak Repair
Now that you've prioritized safety, let's get down to business. Here's a list of essential tools you'll need for most ceiling leak repairs:
Safety Glasses: Protect your eyes from debris or splashing water.
Work Gloves: Shield your hands from cuts and scrapes while working.
Drop Cloths: Lay down a drop cloth to catch any falling debris and protect your floor from water damage.
Flashlight: Illuminate the work area, especially if you're dealing with a leak in a confined space.
Bucket: Catch the water dripping from the leak.
Pliers: Useful for tightening or loosening nuts and bolts, especially when dealing with leaky pipes.
Adjustable Wrench: An adjustable wrench offers more versatility than a regular wrench, allowing you to tackle various nut and bolt sizes.
Putty Knife: Scrape away damaged drywall or plaster to expose the source of the leak.
Utility Knife: Cut drywall or other materials if needed to access the leak. (Use caution!)
Caulking Gun: Apply caulk to seal cracks or gaps after repairing the leak.
Sandpaper: Smooth out rough edges after removing damaged drywall or plaster.
Sponges: Clean up any water spills or debris.
Patch Kit: Depending on the size of the hole, a patch kit can be used to repair minor drywall or plaster damage.
Drywall Screws: Secure drywall patches in place.
Additional Tools (Depending on the Leak Source):
Pipe Wrench: For tightening or loosening pipes, especially if the leak originates from a plumbing issue.
Teflon Tape: Wrap pipe threads to create a watertight seal (consult a professional if unsure about using Teflon tape).
Sharkbite Connectors: These handy connectors allow for easy repairs on plumbing lines without soldering (consult a professional if unsure about using Sharkbite connectors).
Looking for a trustworthy ceiling leakage repair service in Singapore? Allseal Waterproofing provides expert solutions for all types of ceiling leaks, whether they are caused by roof damage, faulty plumbing, or poor waterproofing. Our experienced team will inspect your ceiling, locate the leak, and perform the necessary repairs to prevent further damage.
Ceiling leaks can lead to more serious issues if left untreated, including structural weakening and health risks from mold growth. At Allseal Waterproofing, we use the best techniques and materials to ensure your ceiling is repaired effectively. For fast, reliable service, trust our ceiling leakage repair service in Singapore to restore your home or office.
Identifying the Leak Source: Detective Work for Ceiling Leaks
Before fixing the leak, you need to identify its origin. Here are some common culprits:
Roof Leaks: Check your roof for missing shingles, damaged flashing, or clogged gutters.
Plumbing Leaks: Leaky pipes behind walls or faulty fixtures like faucets or showers can cause ceiling leaks.
Condensation: This is more common in bathrooms and kitchens. Poor ventilation can lead to moisture buildup and leaks.
Taking Action: Repairing the Leak
Minor Leaks:
For minor leaks, you might be able to tackle them yourself using tools like caulk, pipe wrenches, and patch kits.
Caulk Leaks: If the leak appears to be originating from a crack or gap around pipes, fixtures, or vents, apply a bead of caulk to seal the opening. Let the caulk cure completely before testing for leaks.
Tighten Loose Pipes: Use pliers or wrenches to tighten any loose pipe connections that might be causing the leak.
Major Leaks:
For major leaks, extensive damage, or leaks that you're uncomfortable handling yourself, it's best to call in a professional. They have the expertise and tools to diagnose and repair the leak efficiently and safely.
Post-Repair Care:
Once the leak is repaired, it's essential to take preventative measures to avoid future issues:
Inspect Regularly: Conduct regular inspections of your roof, gutters, pipes, and fixtures to identify potential problems early on.
Maintain Proper Ventilation: Ensure adequate ventilation in areas prone to moisture buildup, such as bathrooms and kitchens.
Address Plumbing Issues Promptly: Don't ignore minor plumbing leaks or issues. Addressing them promptly can prevent more significant problems and costly repairs down the line.
Conclusion
Ceiling leaks can be a frustrating and stressful ordeal, but with the right tools, knowledge, and a little patience, you can often address them effectively. Remember, safety is paramount, and if you're unsure about tackling a leak yourself, don't hesitate to seek professional help. By taking preventative measures and addressing leaks promptly, you can protect your home from water damage and ensure a more comfortable and worry-free living environment.


