Installing a skylight can transform a space by letting in natural light, offering a panoramic view of the sky, and creating a bright, airy atmosphere. velux certified installer Whether you're looking to improve energy efficiency, increase property value, or simply enjoy more daylight, a skylight can be a great addition to your home. In this article, we will cover everything you need to know about skylight installation, from preparation to the final touch.
Why Install a Skylight?
Before diving into the installation process, it’s important to understand the benefits of having a skylight in your home:
1. Increased Natural Light: Skylights allow more light into your home, brightening up dark rooms or hallways. This can create a more welcoming and comfortable atmosphere.
2. Energy Efficiency: By using natural light, you can reduce the need for artificial lighting during the day, leading to potential savings on your electricity bills.
3. Improved Ventilation: Some skylights are operable, meaning they can be opened to allow fresh air to circulate and help cool your home naturally.
4. Aesthetic Appeal: Skylights can add architectural interest to your home. Whether you choose a fixed or vented model, they can create a beautiful focal point in any room.
5. Enhance Mood and Productivity: Exposure to natural sunlight has been linked to improved mood, better sleep, and increased productivity.
Types of Skylights
When considering skylight installation, you'll need to decide which type of skylight best suits your home. There are several options:
· Fixed Skylights: These do not open and are designed solely to provide natural light. Fixed skylights are the most common and are ideal for areas where ventilation is not a priority.
· Vented Skylights: These can be opened and closed to allow fresh air to enter the room. Vented skylights are perfect for kitchens, bathrooms, or rooms that need ventilation in addition to lighting.
· Tubular Skylights: Also known as sun tunnels, these are smaller, round skylights that fit into tight spaces, such as hallways or closets. They are ideal for places that do not have the room for a larger skylight.
Preparing for Skylight Installation
Installing a skylight involves careful planning and preparation. Here’s what you need to do before you begin:
1. Choose the Right Location: The best location for a skylight is on a roof with an angle that allows maximum exposure to the sun. Avoid areas that are shaded by trees or nearby buildings.
2. Check Building Codes: Before installing a skylight, check local building codes to ensure compliance. Some areas may require a permit for skylight installation, and there may be restrictions on where you can place the skylight.
3. Consider the Roof Structure: Make sure your roof is structurally sound enough to support a skylight. You may need a professional to assess the condition of your roof before proceeding.
4. Measure the Space: Take precise measurements of the space where you plan to install the skylight. The size and type of skylight will depend on the room's dimensions and the available roof space.
Skylight Installation Steps
Once you've done your preparation, it’s time to start installing the skylight. Here’s a general guide to the process:
1. Cutting the Hole in the Roof:
- Begin by marking the exact location of the skylight install on your roof. Make sure it's properly aligned with the interior space.
- Cut a hole in the roof using a saw. It’s important to be precise to avoid damaging the surrounding roofing material.
2. Installing the Flashing:
- Flashing is a critical part of the installation to ensure the skylight is sealed properly and there is no risk of leaks.
- Install the flashing around the hole, making sure it's securely fastened and overlaps the roofing material.
3. Attaching the Skylight:
- With the flashing in place, lift the skylight into position and attach it to the roof.
- Use screws to secure the skylight, ensuring it’s firmly held in place.
4. Sealing the Skylight:
- Apply a weather-resistant sealant around the edges of the skylight to create an airtight and waterproof barrier. This will help prevent water from entering your home during rain or snow.
5. Finishing Touches:
- Once the skylight is installed, ensure that the interior trim is in place. This will complete the installation and ensure a polished look inside your home.
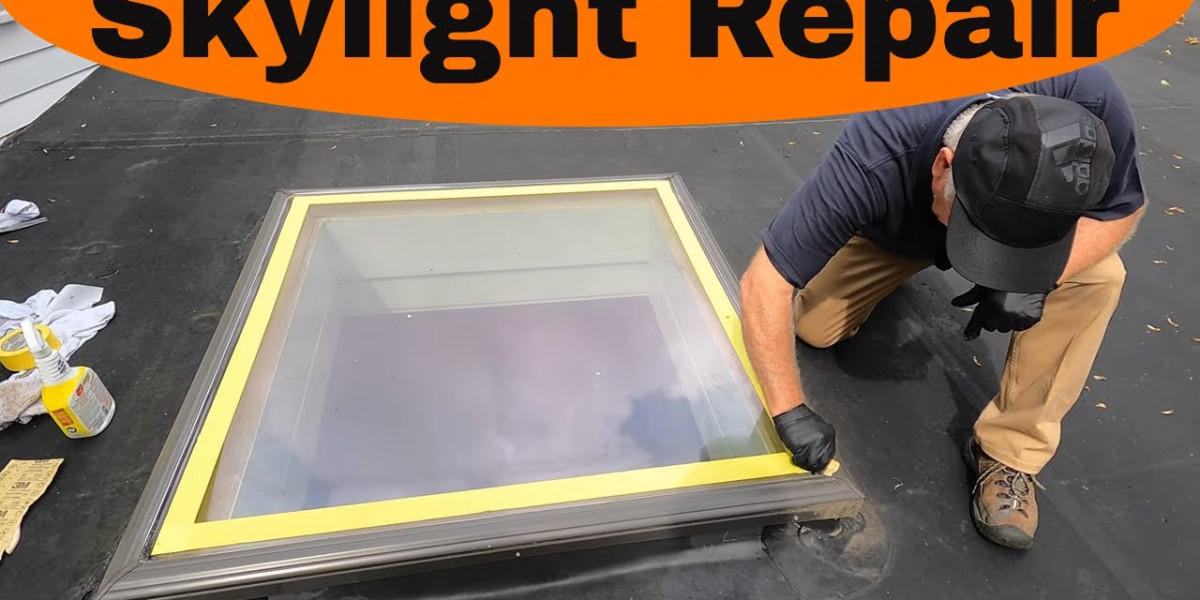
Consider Professional Installation
While installing a skylight may seem like a manageable DIY project, it can be complicated and risky. Working on a roof, especially in high or hard-to-reach areas, requires skill and safety precautions. Additionally, ensuring that the skylight is sealed properly to prevent leaks is essential. For these reasons, it’s often best to hire a professional who has experience with skylight installation.
A professional can ensure that the skylight is properly sized and positioned, and that all necessary permits and inspections are taken care of. Furthermore, experts can provide warranties for their work, offering peace of mind that the job is done right.
Conclusion
Installing a skylight can bring a world of benefits to your home, from enhancing natural light to improving ventilation and boosting the overall ambiance. Whether you're tackling the project yourself or enlisting a professional, understanding the installation process and the different types of skylights available will help ensure your project is a success. With careful planning and proper installation, a skylight can provide years of enjoyment and energy savings.